 Skip to content


A steady yellow or amber light can be normal on the sending safety sensor of a Chamberlain or LiftMaster opener that uses amber and green indicators. To diagnose a closing problem, check the receiving sensor’s indicator and your model’s instructions rather than treating yellow alone as a fault.
Garage door safety sensors, also called photo eyes, sit on opposite sides of the opening near the floor. One sends an infrared beam to the other; an interrupted beam can prevent closing or cause a closing door to reverse.
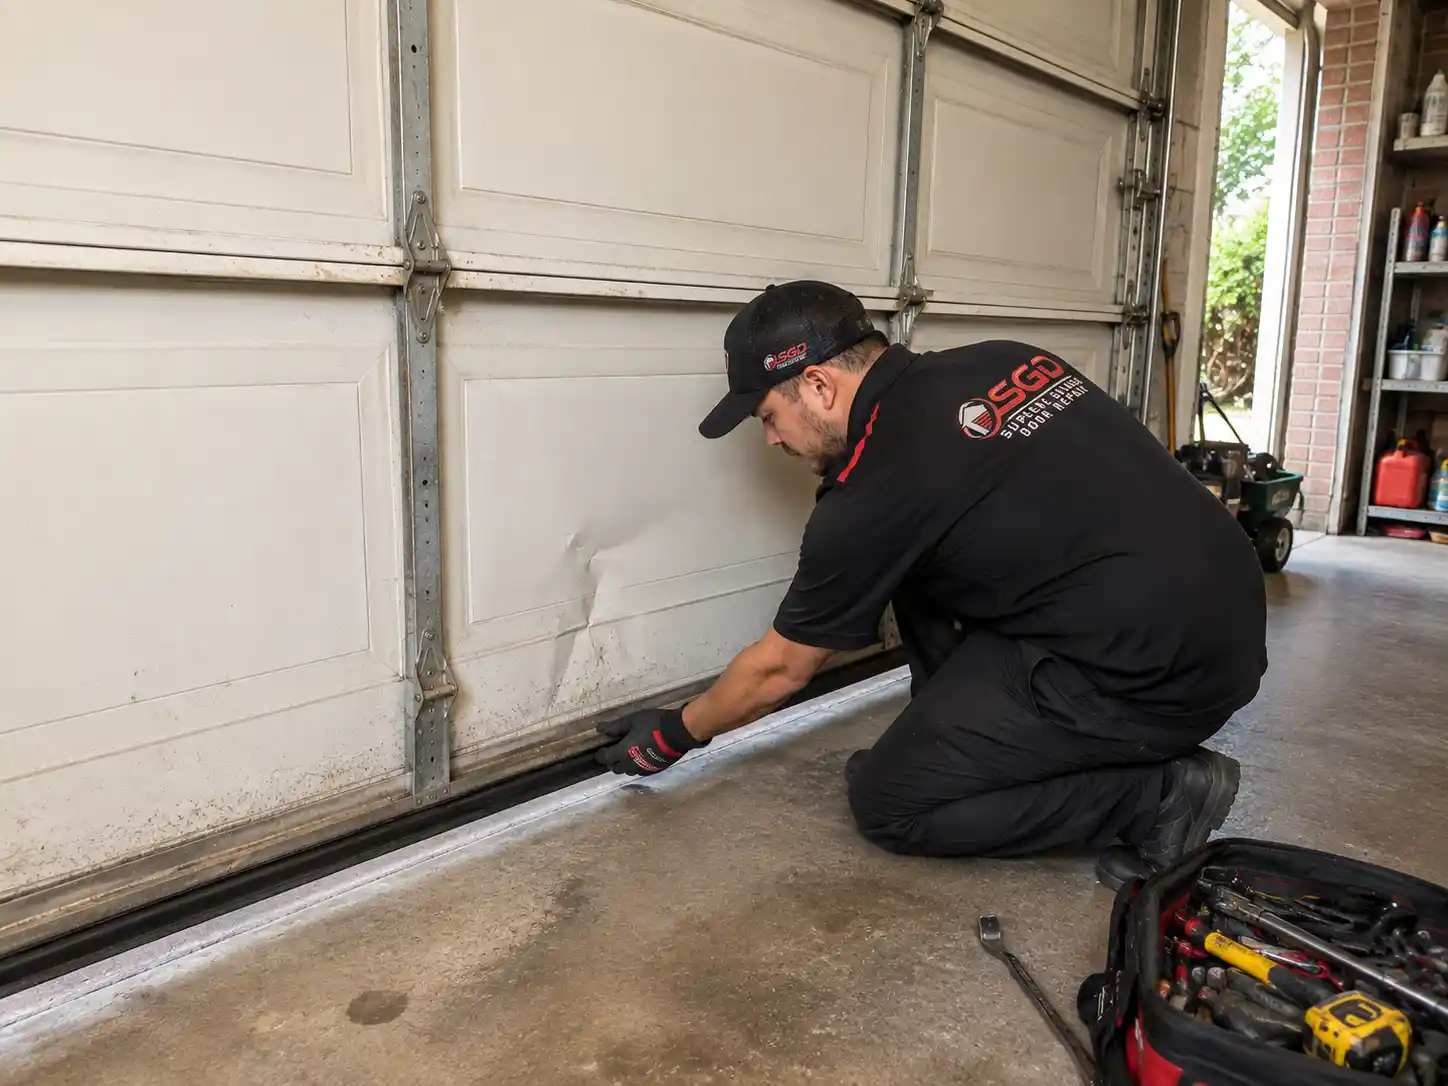
Identify the opener brand and model, then check which sensor has the light and whether it is steady, flickering or off. Indicator colors and diagnostic patterns vary, so a rule for one system should not be applied to every garage door opener.
Chamberlain’s sending and receiving sensor guide identifies amber as the sending indicator and green as the receiving indicator on the systems described. For those systems, use the receiving indicator when assessing whether the beam is being received.
Several issues can interrupt the safety beam or sensor communication. The yellow indicator alone does not identify the cause.
If both indicators match the manual’s normal state but the door still will not close, the issue may involve another part of the system. Record the opener’s diagnostic signals and arrange an assessment rather than repeatedly adjusting the sensors.
Start with simple checks while the door is stopped and the opening is clear. Keep people and pets away from the door during any subsequent operation or testing.
For applicable Chamberlain systems, the manufacturer’s sensor alignment and troubleshooting instructions use a steady green receiving indicator as the alignment target. Keep the instructions for your exact model as the reference.
Successful opening and closing alone does not verify the safety system. Follow the owner’s manual for both the photo-eye obstruction test and the separate contact-reversal test, using the specified controls, test objects and procedure.
Chamberlain publishes safety-reversal testing guidance for its openers. If a prescribed test fails or you are unsure how to perform it, stop using the opener and have a qualified technician verify operation.
Keep the safety system functional. Do not disconnect, bypass or reposition photo eyes to defeat obstruction detection. Continuous pressure on a wall control is not a repair for a sensor fault; arrange service instead of relying on an override.

A qualified garage-door technician should assess persistent faults, damaged wiring, cracked sensors or unsuccessful safety tests. Indicator color alone cannot distinguish a sensor problem from a wiring or opener-control fault.
Ask whether the technician works with your opener model, uses compatible replacement parts and verifies alignment and safety operation after the repair. Request a written repair scope and clear warranty terms before approving replacement work.
Review garage door opener inspection and repair services when a closing problem remains after basic checks. Share the model number, indicator behavior and diagnostic signals to help explain the symptoms.
Check the sensors during routine garage care and clean the lenses when they become dusty or dirty. Keep storage away from the beam path and watch for brackets that have been bumped or wiring that appears damaged.
A yellow sending indicator can remain normal even when another issue prevents closing. Use the manual’s diagnostic guidance and periodic safety tests rather than assuming that an illuminated light proves the whole system is working.
Not necessarily. Chamberlain and LiftMaster systems using amber and green indicators have an amber sending sensor and a green receiving sensor. Other systems may use different indicators, so check the manual for your opener model.
A steady yellow or amber sending light can be normal on applicable Chamberlain and LiftMaster systems. It does not by itself confirm that the beam reaches the receiving sensor; check the other indicator and the model-specific diagnostic instructions.
A blocked beam, dirty lens, misalignment, sunlight interference or a wiring fault may cause a sensor-related closing problem. Other opener or door faults are also possible, so use the model’s diagnostic guidance and arrange an inspection if basic checks do not resolve it.
Replacement requires compatible parts, correct wiring and the manufacturer’s setup and testing procedures. If you are unsure about safely isolating power, installing the sensor or verifying safety operation, have a qualified technician handle the work.
Check the lenses during routine garage care and clean them when dusty or dirty, following the manufacturer’s care instructions. Keep stored items and debris away from the beam path and arrange service for damaged sensors or wiring.
No. A door closing successfully does not establish that it detects an obstruction correctly. Follow the opener manual’s photo-eye test and separate contact-reversal test; stop using the opener and arrange service if either prescribed test fails.
If your garage door still refuses to close or reverses unexpectedly after clearing the sensor path and cleaning the lenses, contact Supreme Garage Door Repair for a professional inspection. Share your opener brand and model, the sensor light colors and blink patterns, and the symptoms you have noticed to help our team assess the issue.
Schedule a Sensor Inspection